Showing posts with label Baking. Show all posts

Wednesday, 23 May 2012

When Life Gives You Lemons...

 Rumour has it that despite life having lobbed a few lemons this way, the Pantry is back in business..

All I know is this: when life gives you lemons, you make lemonade.

When life doesn't give you lemons & ruins your plans for a desirable drizzle cake, you say "Sod* the Lemons!" & grab the nearest Orange. 


 For Cinnamon & Orange Drizzle Cake you will need:

  • 4oz/115g Butter
  • 4oz/115g Caster Sugar
  • 2 x Medium Eggs
  • 4 oz/115g Self Raising Flour
  • 1 x heaped tsp of Cinnamon
  • Zest of 1 large Orange
  • Juice of half large Orange
  • 3 or 4[ish] x heaped tbsp Icing Sugar
 For a Cinnamon & Orange Drizzle Cake you must:
  1. Cream together the Butter & the Caster Sugar until pale.
  2. Beat in the Eggs, one at a time, adding a little Flour (to stop them separating).
  3. Gradually stir in the Flour, Cinnamon & Zest. I like lots of flavour, so tend to whack in a load of cinnamon - you could also try putting half a tsp of Nutmeg in there too if you fancied. You know what, I bet this would be cracking with a handful of sultanas or mixed fruit in too.
  4. Put in a greased & lined cake tin or loaf tin - 20/25cm round or similar - & bake in a preheated oven for 20-30mins - or until nicely golden brown on outside, I love to have a crispy outer! & you can insert a skewer into the middle & pull it out clean. You know the drill!
  5. Meanwhile, at the Bat Cave... Mix together the Juice & the Icing Sugar. You can make it as runny or as solid as you desire. I like mine to be fairly runny so it gets in all the nooks.
  6. When cooked & still hot (& in the tin, otherwise it's messy!) make deep holes in the cake with a skewer - or if you are like me then scissors will do! - then pour your icing on top, ensuring it all runs into the holes & makes your cake lovely & moist.
et voila! - Cinnamon & Orange Drizzle cake, with not a Lemon in sight! Enjoy with a well deserved Cuppa ...and relax!


*words other than 'sod' may be used in this instance. Please feel free to improvise.


Friday, 24 February 2012

Late Night Crumbling

After a day of horrendous suffering that lethal agony that is the Man Flu (yes ladies, I do let the side down, a thousand apologies!) come the evening I was feeling a little perkier & a little peckish.. Okay, more like ravenous (what?! I had been suffering & can't go for more than a few hours without at least a snack!) & so, foraging thru the sparse supplies in the fridge I happened across some blueberries which were in desperate need of consumption ("EAT US, EAT US!!") however blueberries alone weren't going to cut it for a girl who hadn't eaten in oohh, what...4 hours?!

My immediate thought was "Get your muffin on!"
A quick rummage later & alas, no muffin cases.
There was only one thing for it: EMERGENCY CRUMBLE

3 x Dessert Apples - check
2 x Handfuls Blueberries - check
Little Knob (Steady!) of Butter - check
1 x tbsp Sugar - check
1 x tbsp Muscovado Sugar - check
1/2 x tsp Cinnamon - check
Dash of Nutmeg - check
Looking good! & the crumble topping?
4oz Flour - check
2oz Oats - check
3oz Butter - check
3oz Sugar - check

STOP! Crumble time...


Firstly, I heated the sugars & butter until all the sugar was dissolved & then wapped in my apples (chopped into smallish sized chunks) & the spices, cooking until evenly coated in the sticky stuff & ever so slightly tender. It's best if you do it in a frying pan but for the purposes of making as little washing up as possible (but ultimately just being a massive faff) I did mine in a tiny saucepan.


Then I just chucked them in a bowl with the uncooked blueberries on top & a bit more sugar for good measure.


Then the topping. You can easily make plain with 4oz (100g) flour & 2oz (50g) butter & 2oz (50g) sugar but I like the extra wholesomeness of oats in there too. Either way rub in the butter & flour until it looks like a crumble topping, then stir in the sugar & oats, if using.

Wang it on top, stick it in the oven, medium heat, for 25 mins, until nice & golden brown.


Take out when done & eat with whatever you fancy. In my case, straight from the bowl! Wait until the hubby [or wife] gets home (or if you are lucky enough not to have an other half then scoff it all yourself) & see the suspicious look on their face when they see the crumble waiting for them!


Easy as Pie...er...no, Easier than Pie!

~ * ~
Enhanced by Zemanta

Wednesday, 8 February 2012

Here's one I made earlier!

I told you earlier that today I would be doing a spot of easy baking with Eldest. Alas, dear readers, I am dying. I think I have the man flu or some other such ailment, but whatever it is, baking is not on the cards - lying around moaning & possibly eating some baked goods, however, is totally on.
Though this was never meant to be the first official PGP post, rather a little something to whet your appetite, before we really get stuck in, I still feel I've let you down & so here is a post I made earlier instead. Originally made for my personal blog Our Pea Green Pod.

~   *   ~
We like to bake. We love to bake! However...finding a spare half an hour when you have a 3 year old child who spends most of her time on the naughty step & a ten week old baby who spends most of her time eating, crying or soiling herself can be a little bit tricky.
So, if you are in a similar predicament to me, then you may appreciate my step by step guide to cupcakes.
1. Preparation is key. Firstly get all your ingredients together: remember: 4:4:4:2 or in this case 2:2:2:1 - this is 4oz SRFlour, 4oz caster sugar, 4oz butter to two medium free range eggs. Place them on a tea towel so as to disguise your mingin' work tops from anyone who may be watching you, for whatever reason.


2. Check that baby is sleeping soundly. Yes? Good.


3. Find child & place in apron (may be trickier than it seems).


4. Make child smile & banish from sucking thumb until finished. Crop out mop in background.


 5. Remove gross child-germs from child's hands.


6. Now, at last, baking. Cream together butter & sugar using electric mixer, unless your child, like mine, is scared of electric mixers, hoovers, hand dryers etc. in which case either do this by hand or tell child it's safe to enter when you're done.


7. Beat in egg & vanilla essence. ("Awwww I wanted to crack the egg, Mummyyyy...")


8. After ensuing egg-related sulk, gradually stir in the flour.


9. Scoop into cases, taking extra care to avoid child saliva & other bodily fluids contaminating mixture.


10. Bugger, too late.


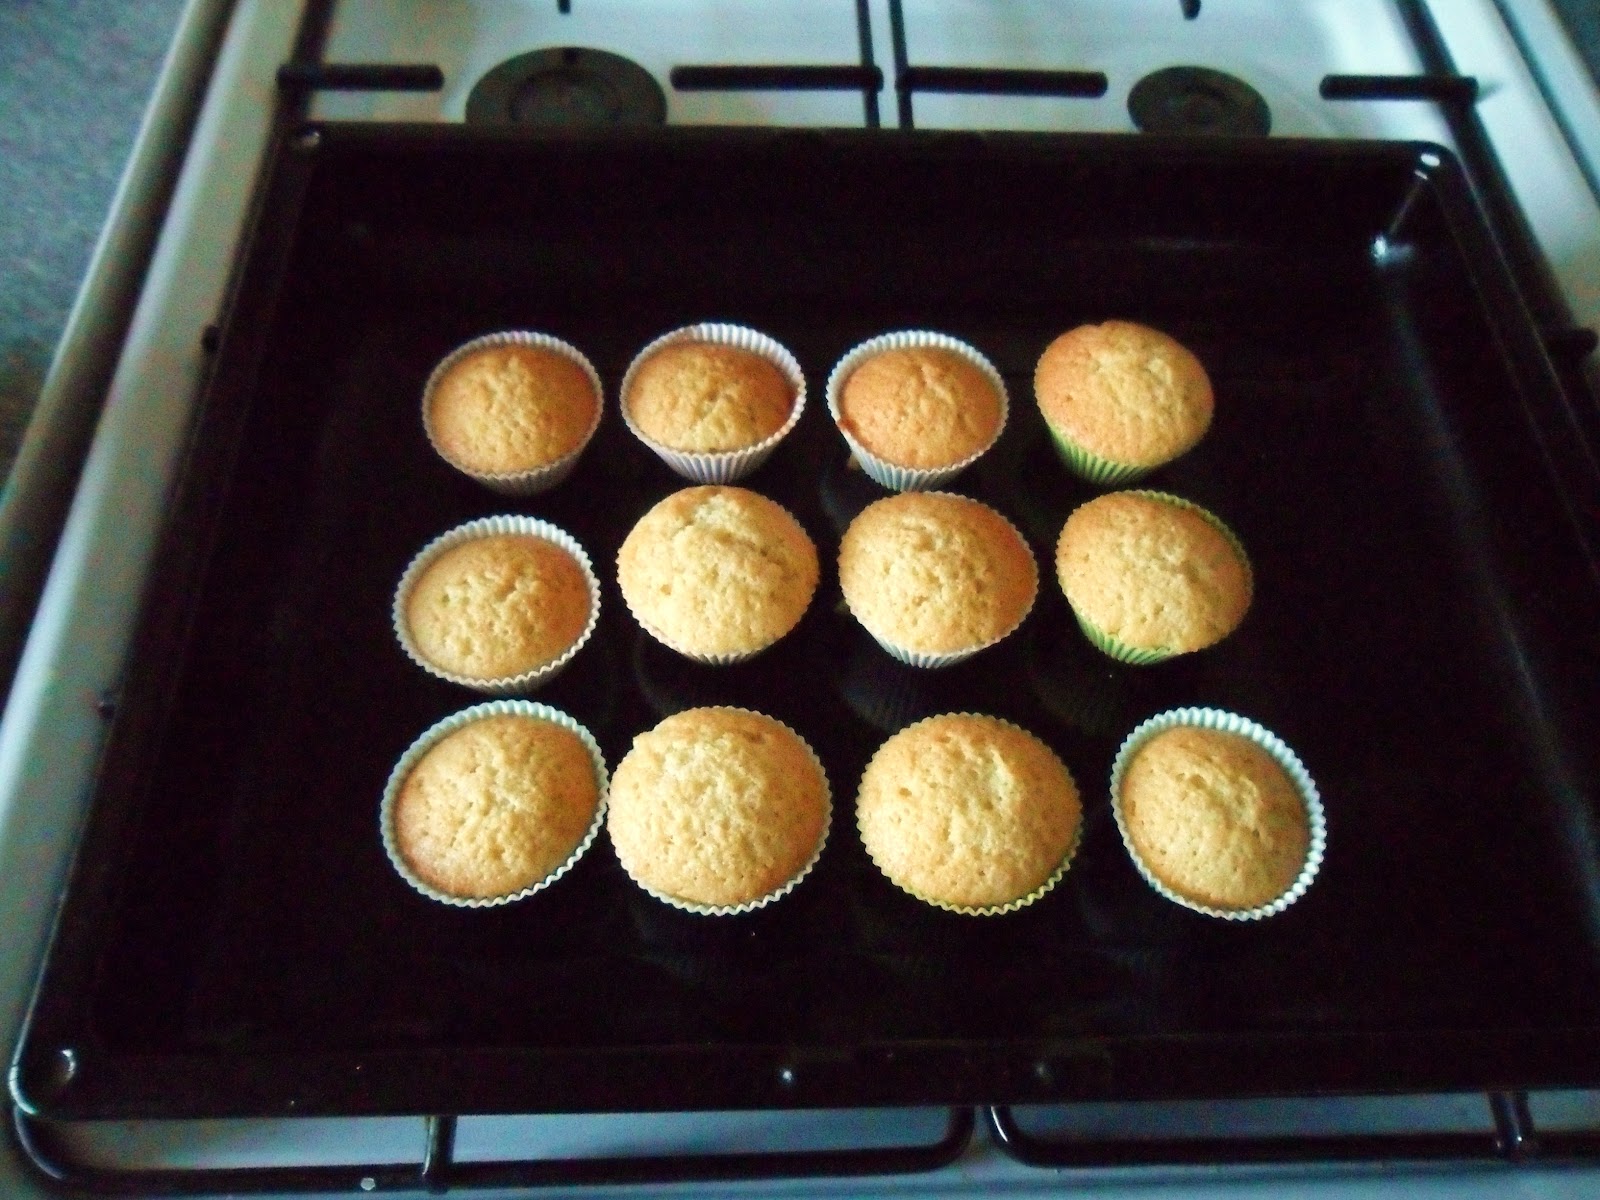
11. Place on tray & bake in oven for 10 minutes.


12. Meanwhile, have a cuppa, relax & contemplate why you ever thought it was a good idea to let your child in a room that houses sharp knives & dangerous electrical equipment, especially when all they ever do is ask "What's this?!" whilst wielding a meat cleaver or other such dangerous object the moment your back is turned. Perhaps I should add, in the name of safety & common sense - put all the sharp things tightly away!


13. Check buns, realise you are crap at timing & return to oven for a further five minutes.


14. Remove from oven. Perfect buns every time. 
If not, blame child.